Features
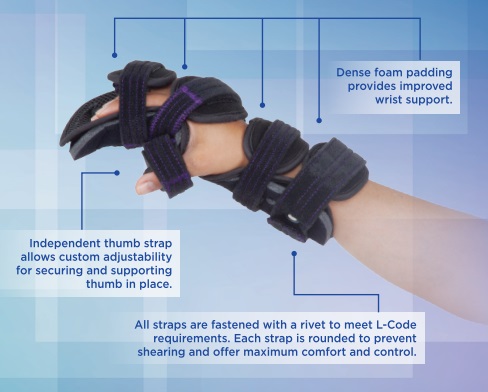
Provides wrfist positioning and adjustability for both flexion and extension of the hand, wrist, thumb and digits.
-Allows Metacarpophalangeal (MCP) joints to be placed in an extension for extensor tendon injuries, or flexion for joint injuries.
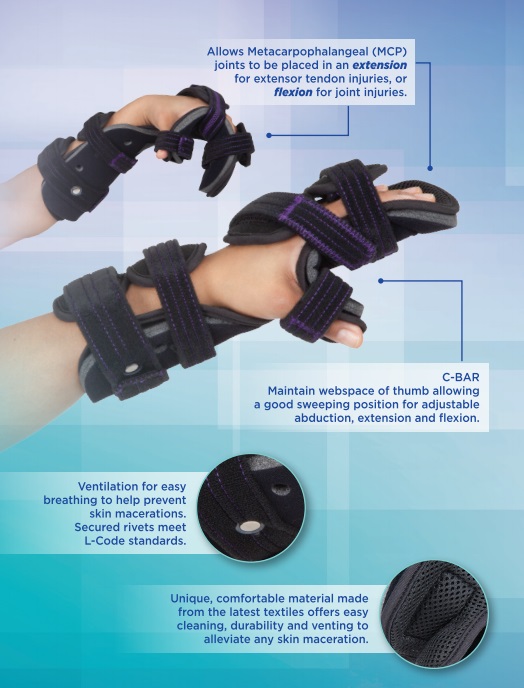
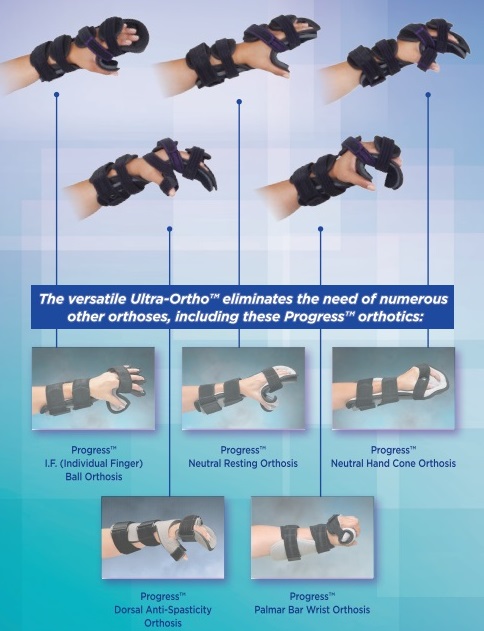
-Ultra-Ortho is biomechanically designed to immobilize and offer adjustable support to meet a variety of therapeutic goals.
-The orthotic is easily adjustable and does not cause any impingement or pressure areas when straps are fastened. This allows the orthotic
to be used immediately for a variety of different types of pathologies maximizing the functional outcome and progress as needed without
refitting for a new orthotic.
-Applications include but are not limited to: contractures due to Dupuytren, head injury, stroke, spinal cord injuries, CVA, arthritic
conditions or burns.
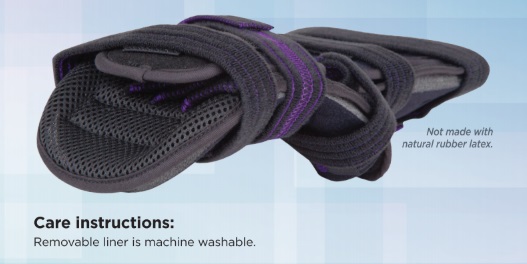
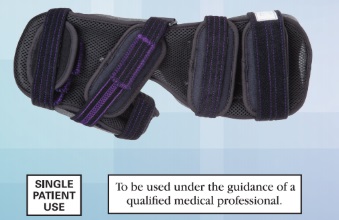
The innovative design combines a malleable frame with dense foam paddling for a lightweight soft
orthosis that supports like a moldable plastic splint.
Indications
Ulta-ortho conforms to lindividual's progressive hand postures.
Fitting
Steps prior to strapping:
1. Evaluate user/patient.
2. Set goals.
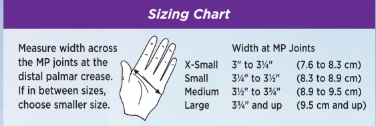
3. ldentify the correct size for patient, using the sizing chart (see back cover).
4. Check Finger Separator position and adjust, as needed.
5. Bend/mold orthotic based on patient goals and indications.
6. Proceed with strapping instructions.
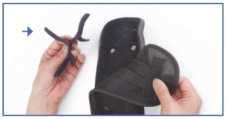
Adjusting Finger Separator:
Pull back liner,
Remove and reposition the
Finger Separator to desired position.
Re-attach liner.
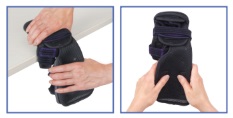
Bending/molding by hand (no tools necessary):
Press orthotic against a table or counter edge and gently bend. Reposition against
the edge and bend again until you have the desired contour. Avoid creating sharp angles.
To contour the trough, grasp near the center and gently bend. Work towards the
outer edges to achieve a smooth contour.
Instructions for strapping:
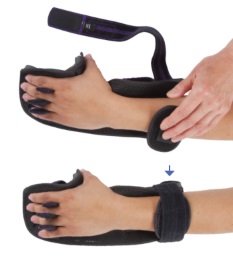
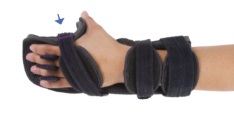
After following the steps above, start the
strapping process by placing the orthotic on
user's arm, as shown. In succeeding steps,
start by positioning pad first and then
secure with strap.
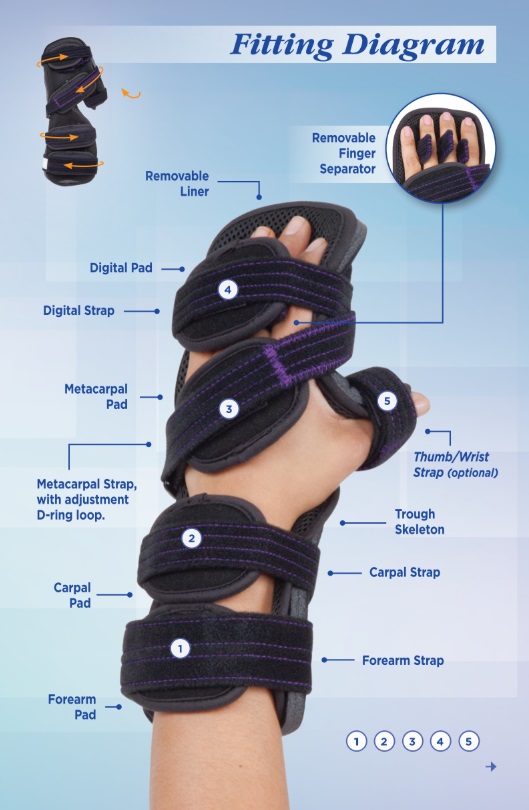
1-Position the Forearm Pad and Strap.
Place Forearm Pad to desired position.
Use the Forearm Strap to fasten pad in
place, strapping from radial (inside arm)
to ulnar (outside arm). Secure strap in
place with hook and loop.
2-Position the Carpal Pad and Strap.
Place Carpal Pad to the desired
position. Use the Carpal Strap to fasten
pad in place, strapping from ulnar to
radial. Secure strap in place.
3-Position the Metacarpal Pad and Strap.
Place Metacarpal Pad to the desired
position. Use the Metacarpal Strap to
fasten pad in place, strapping from
radial to ulhar. Secure strap in place.
Use the D-ring adjustment for
additional security.
4-Position the Digital Pad and Strap.
Place Digital Pad to desired position.
Use the Digital Strap to fasten pad in
place, strapping from ulnar to radial.
Secure strap in place.
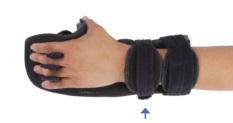
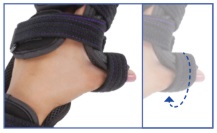
5-Thumb/Wrist Strapping (optiona).
To secure thumb in place,
wrap strap around thumb and
orthosis 2 times. Secure in
place with hook and loop.
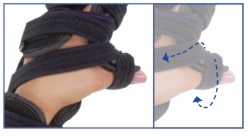
For improved wrist support, wrap
strap over and around the thumb and
orthosis once. Strap should be able to
pass through the web space and back
over the wrist. Secure in place.




Leave your comment
Note: HTML is not translated!